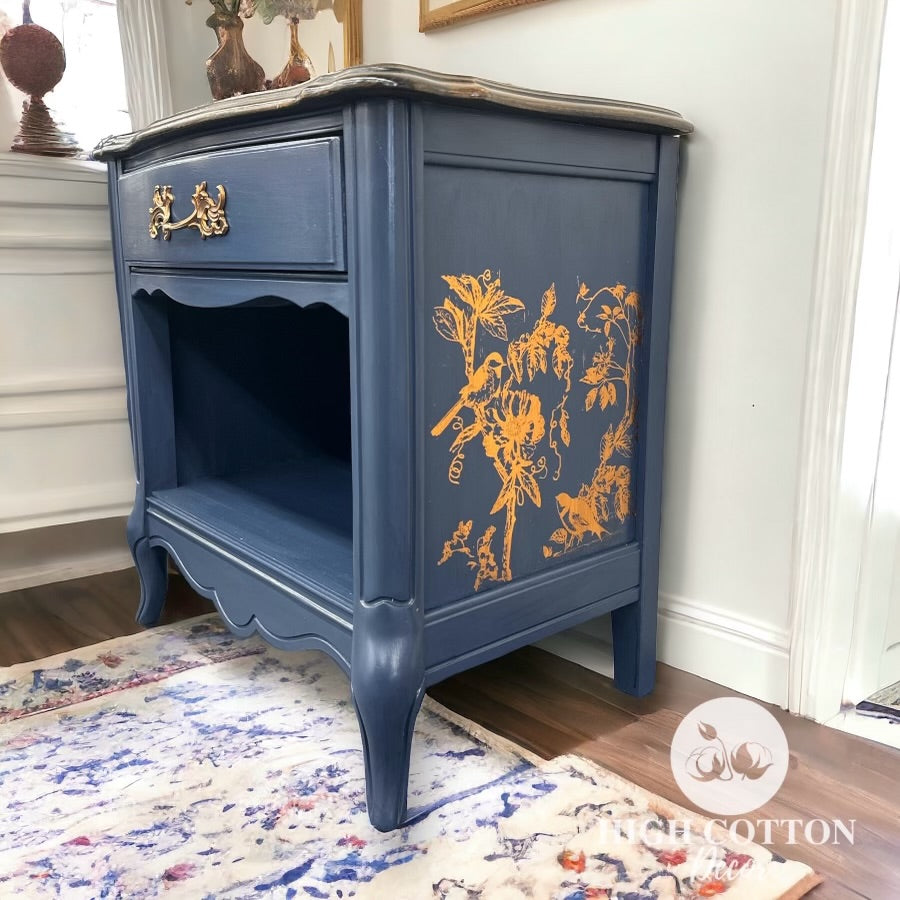
How to apply Redesign with Prima® Decor Transfers
Decor transfers from Redesign With Prima add instant beauty & a custom finish to almost any surface! Add one to your latest furniture project or create a one-of-a-kind piece of decor for your home. You won't believe how simple they are to use! Turn your next project into a unique piece of art!
Just Three Steps...
-

Step 1 - Prepare
Before you begin, make sure the area you are applying the transfer is clean and dry. Wait at least 48 hours to apply a transfer to a newly painted piece of furniture. Do not apply a transfer over a piece that has been waxed.
With the acetate protector sheet still in place, practice positioning the transfer where you would like to apply it. Once you know the placement and have trimmed (if necessary), prepare some small pieces of painter's tape to have ready to secure the transfer to your piece upon placement. -

Step 2 - Apply
Remove the protective sheet being careful not to allow the sticky side of the transfer to touch anything or roll back up on itself. Place the transfer onto the surface, using masking tape to secure it in place as you go. Using a Redesign with Prima Transfer Tool, apply firm pressure, working all around the transfer. You will begin to notice the transfer releasing from the sheet. Continue to work - rubbing all areas firmly.
Pro Tip: Rub evenly and all over the design to ease the release of the transfer and reduce the risk of tears.
-

Step 3 - Reveal
Once the transfer is fully released, gently remove the acetate protector sheet to reveal the transferred design. If any pieces of the transfer did not transfer, re-position the sheet onto the surface and rub again.
Redesign with Prima transfers do not have to be sealed, but if added protection is desired, seal with Tuff Top or another water-based polycrylic protectant. Do not seal with an oil-based sealant.
Pro Tip: Try lightly sanding your transfer with a high grit sandpaper to create a slightly distressed finish.
Shop these favorite collections...
-

Christmas by Redesign With Prima®
Elevate your Christmas decor with Redesign with Prima® holiday designs. From transfers...
-

French Inspired by Redesign with Prima®
Bring a touch of French style into your home with Redesign with...


