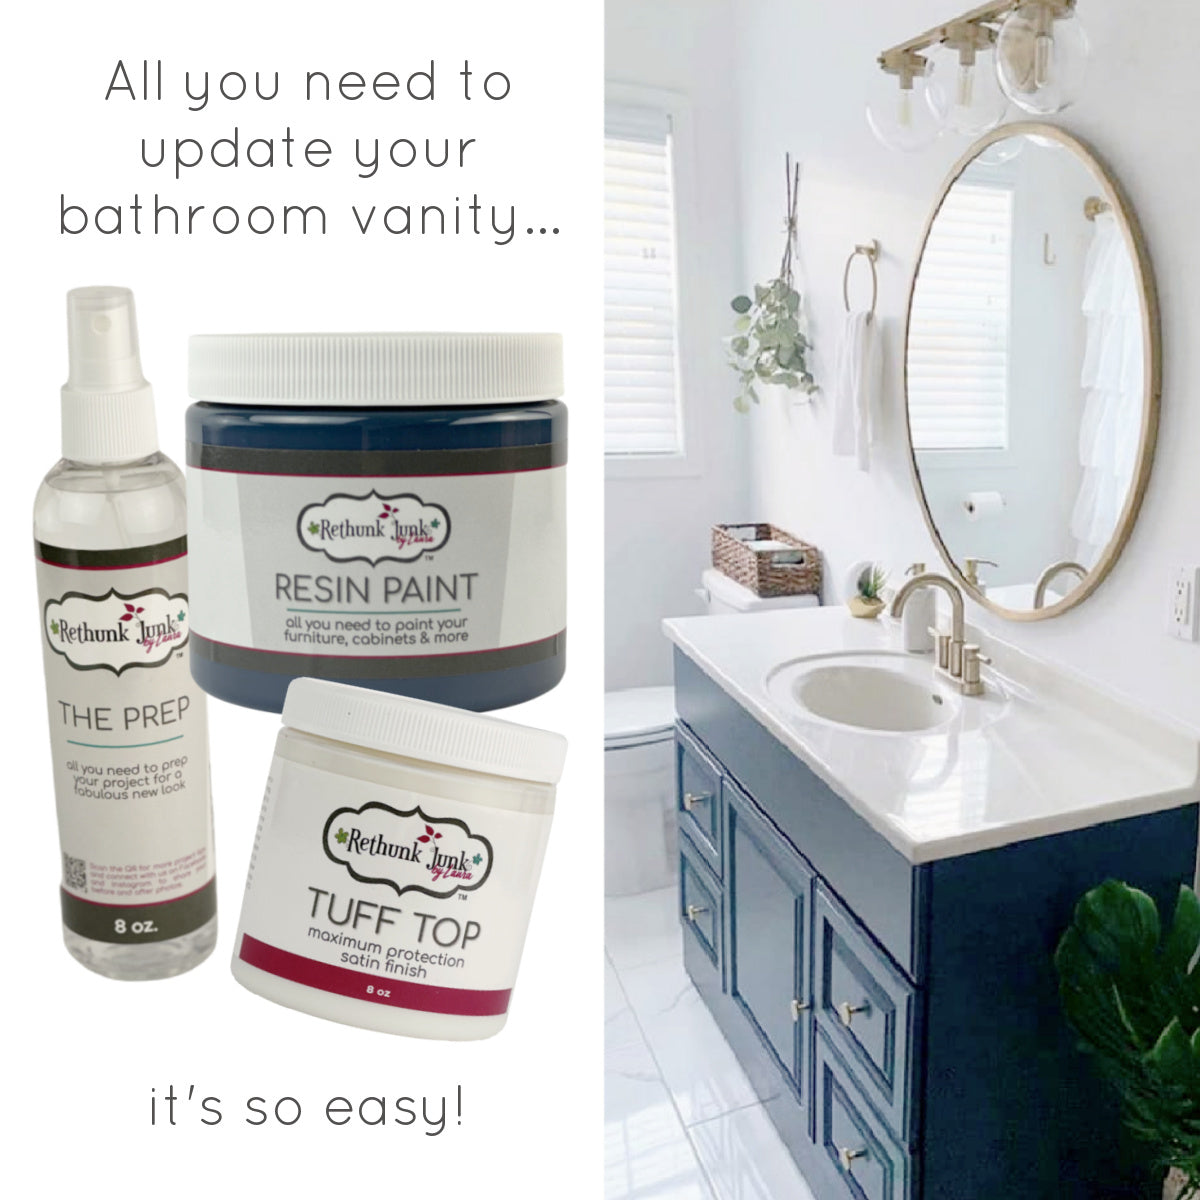
Have an old vanity that could use an update?
With Rethunk Junk by Laura paint products, that project is simple and easy! Say goodbye to that old orange oak, dark maple, or tired white bathroom vanity and add a fun pop of fresh color. With 45 colors to choose from, you'll find the perfect shade!

Vanity Pro Tip:
Bathrooms can be a bit damp so dry times may be extended. For best results, place a fan on the vanity 24-48 hours prior to starting the project and 48-72 hours after completion of the project. This will help the vanity dry more quickly and be ready for daily use.
This beautiful vanity update features the color: Morning Mist
A bathroom is the perfect place for an unexpectedly fun color!
-

Rethunk Junk Neutrals
Revamp your furniture with our stunning collection of neutral paint colors from...
-
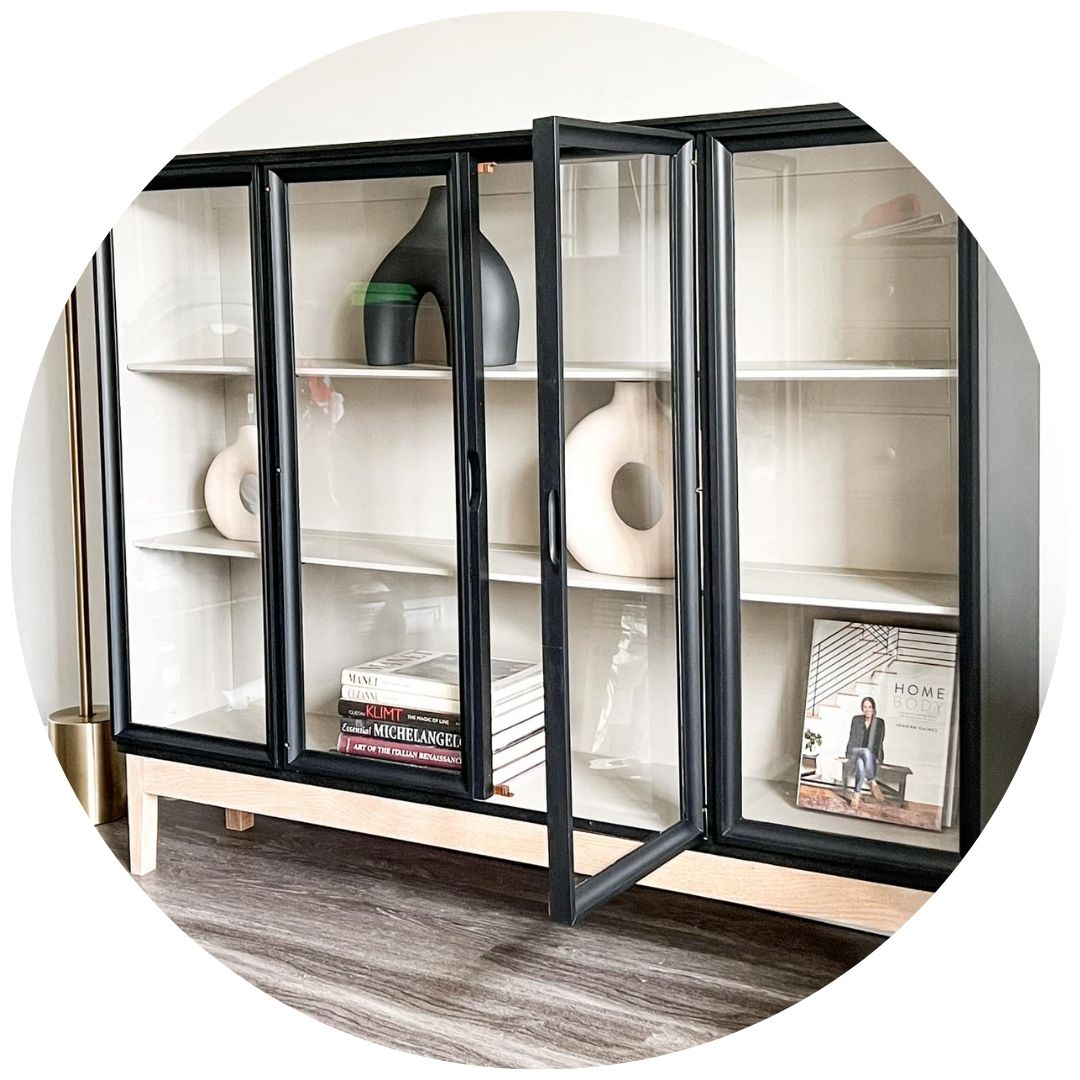
Rethunk Junk Blacks & Grays
Give your furniture a bold, sophisticated makeover with our collection of black...
-
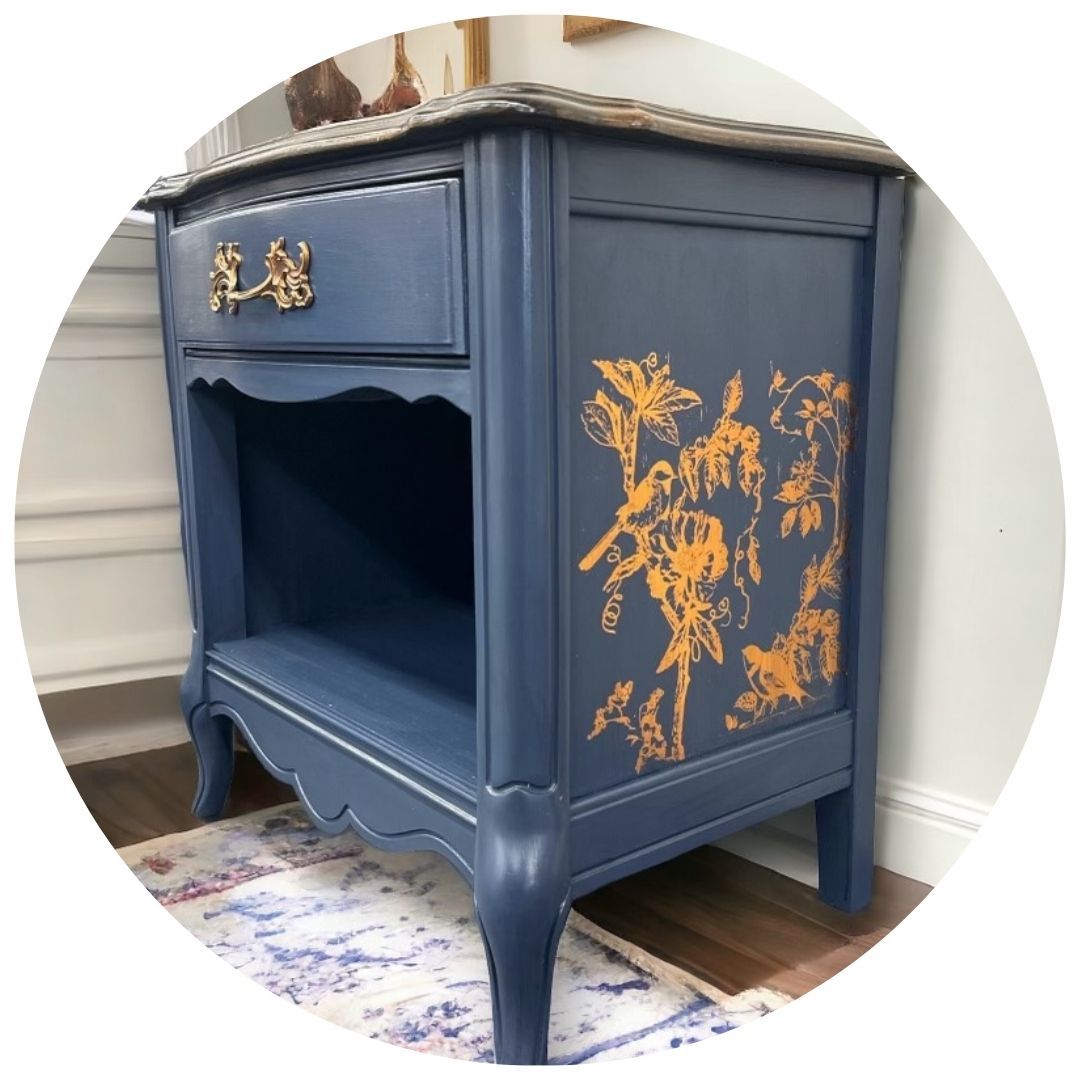
Rethunk Junk Blues & Greens
Brighten up your furniture flips with our stunning collection of blue and...


Now add some of our favorite soaps to that lovely vanity!
-
Beekman 1802 Juicy Peachy Lychee Goat Milk Soap
Regular price $15.99 USDRegular priceUnit price per -
Beekman 1802 Juicy Peachy Lychee Goat Milk Hand Cream
Regular price $11.99 USDRegular priceUnit price per -
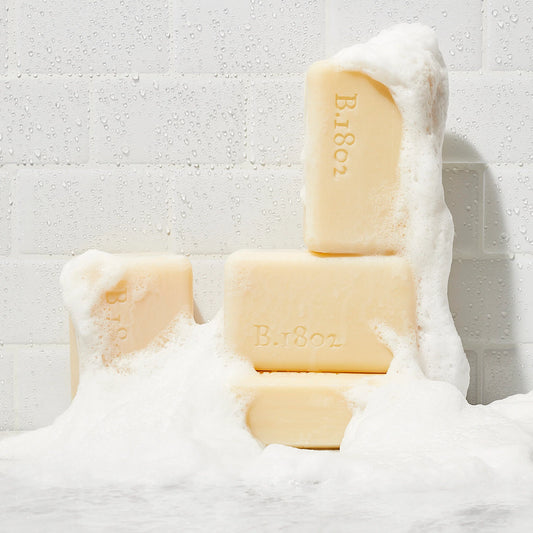
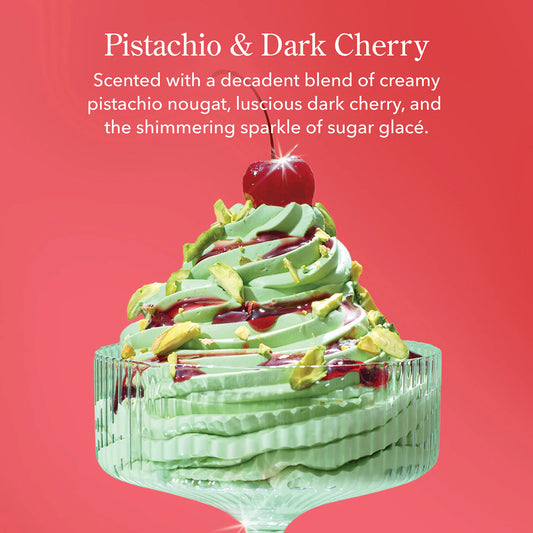
Beekman 1802 Pistachio & Dark Cherry Goat Milk Soap
Regular price $15.99 USDRegular priceUnit price per -
Beekman 1802 Pistachio & Dark Cherry Hand & Body Wash
Regular price $21.99 USDRegular priceUnit price per