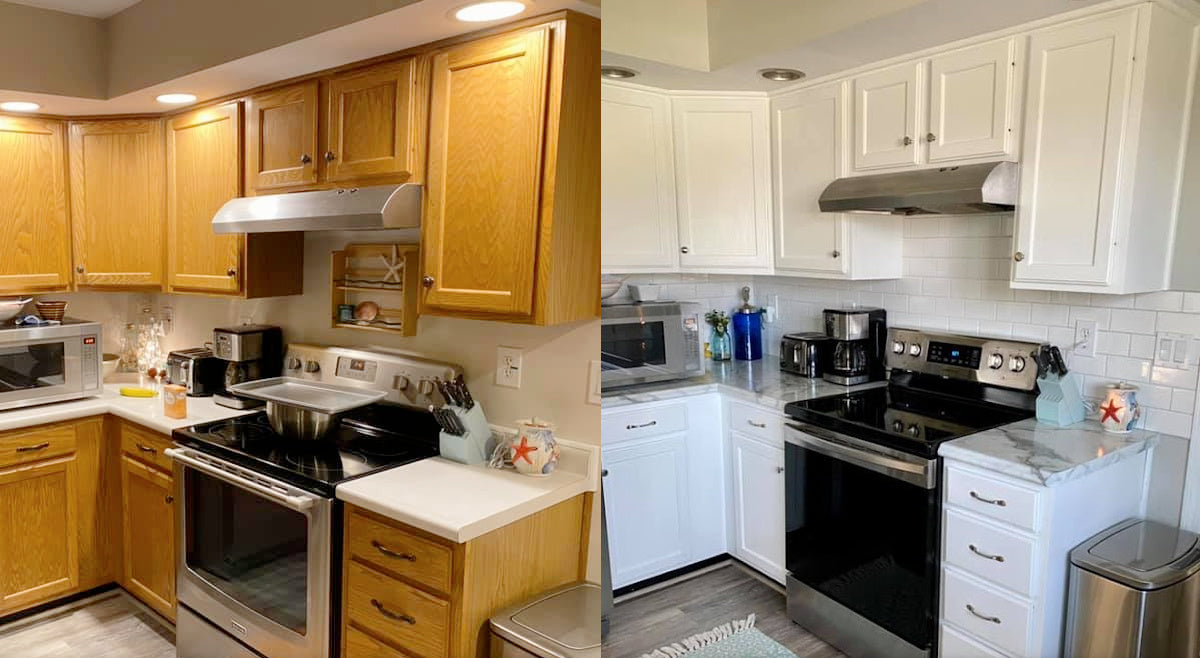
Is it difficult to paint kitchen cabinets?
Not at all! With Rethunk Junk by Laura you can skip the sanding and priming - making this project so simple! Just clean first with The PREP, then get right to the fun part - the paint! With excellent durability and adhesion, you'll enjoy this budget-friendly update for years!
Ready to get started?
Three Simple Steps
-
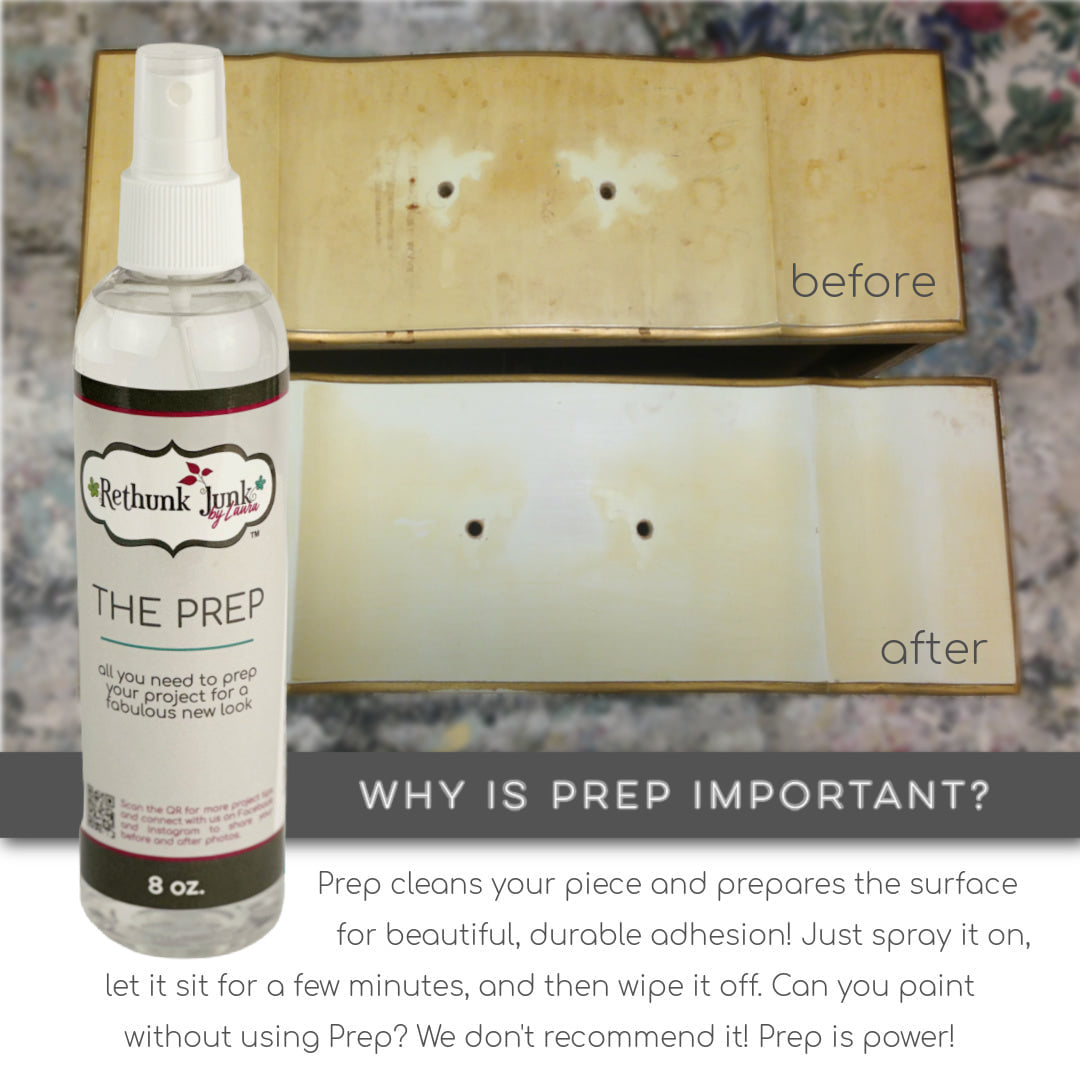
Step 1 - Prep
When it comes to prep work on your kitchen cabinets, take your time and be thorough. Generously spray your cabinets down with the Prep and allow it to soak for 2 minutes. Using a scrubby pad, apply gentle pressure to thoroughly clean the cabinets - paying extra attention to frequently touched surfaces and areas around the stove. Once you have scrubbed thoroughly, wipe away the Prep and residue. Then spray your cabinets again, let it soak, and wipe well with a lint-free cloth.
-
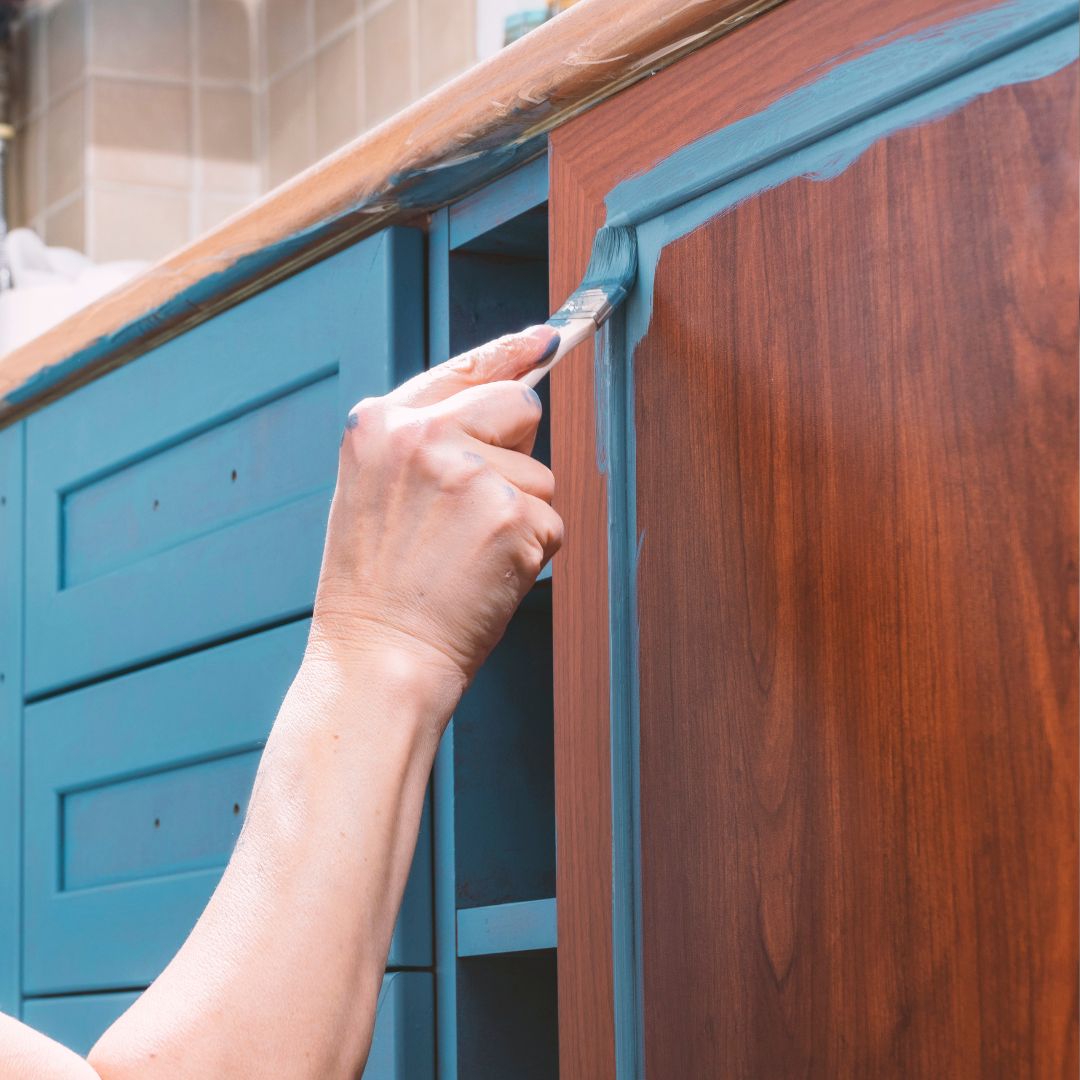
Step 2 - Paint
Use a soft-bristle brush to apply Rethunk Junk by Laura Furniture & Cabinet Paint in your selected color. Starting with the upper cabinets, open the doors and paint the body of the cabinet and backs of the doors (if you're painting those) first. Allow to dry well before painting the fronts of doors. Move on to lower cabinets. By the time you have completed the first coat, it's generally safe to go back to where you started and apply the second coat.
-
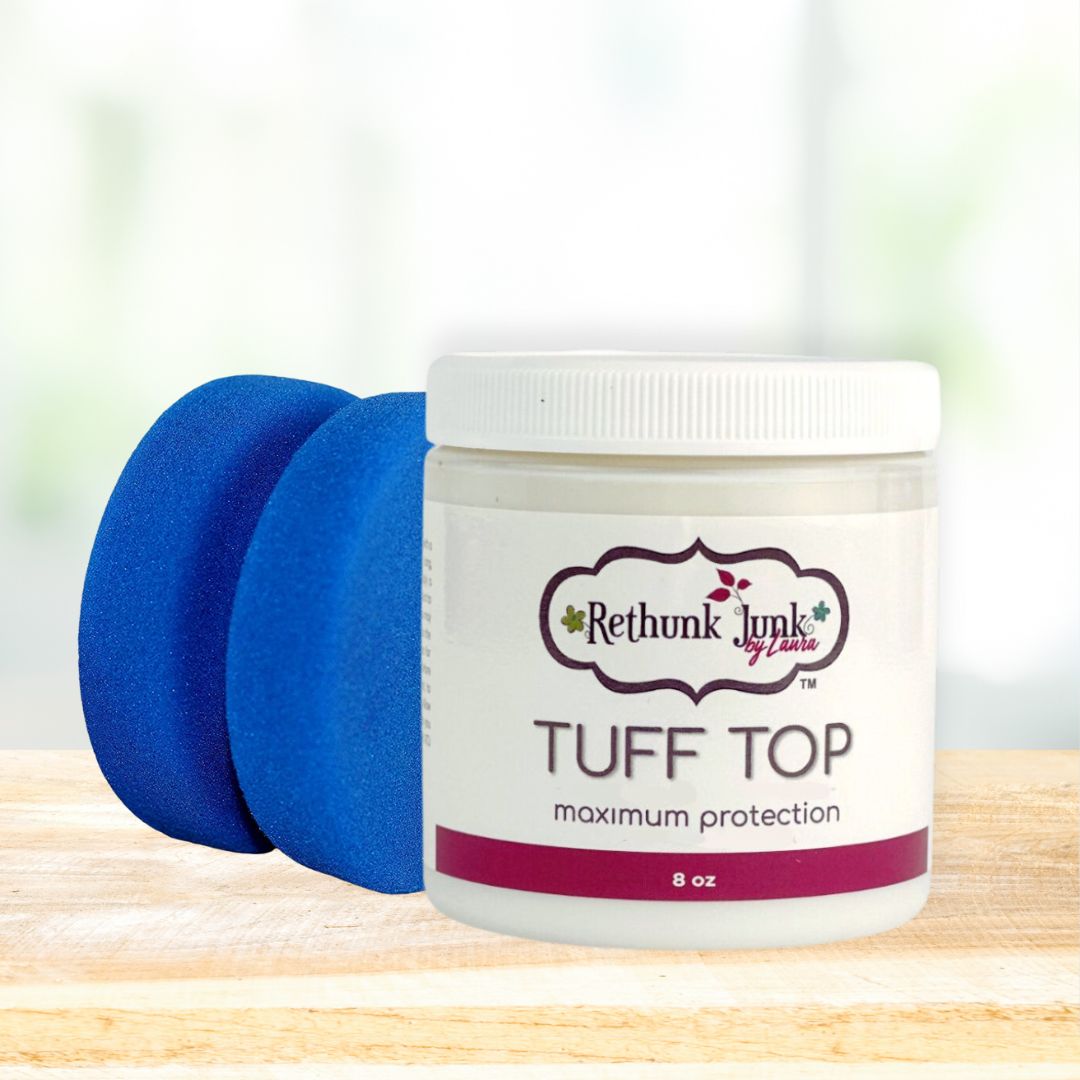
Step 3 - Protect
After your final coat and touch-ups have thoroughly dried, use a Miracle Sponge to apply Tuff Top. Watch out for drips and pooling. Tuff Top is a thin medium so two thin coats are recommended.
Want to add a little interest and texture to your final coat? Consider using a Wash instead of Tuff Top. Rethunk Junk washes add protection and help make cleaning easier while also adding just a hint of color to your final finish.


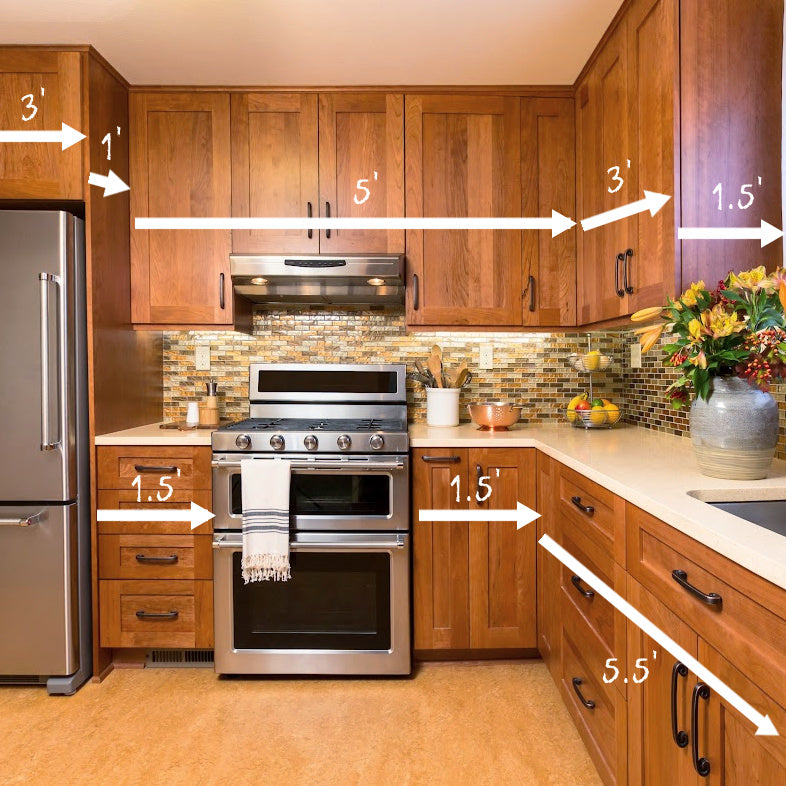
How much paint will I need for my project?
Measure the linear feet of your kitchen cabinetry, then divide that number by 10. Your answer will be the approximate number of quarts your project will need.
Coverage is dependent upon many factors including the current color of your cabinets, the color of the paint, and how thick your coats of paint are. Most colors will require 2-3 coats of paint for full coverage.