Getting ready to start your first project?
Painting furniture & cabinets has never been so much fun! With Rethunk Junk by Laura paint products, you can skip the messy sanding & priming! Plus, no waxing either! Create a beautiful finish with unbelievable durability with just a few simple steps.
Three easy steps...
-
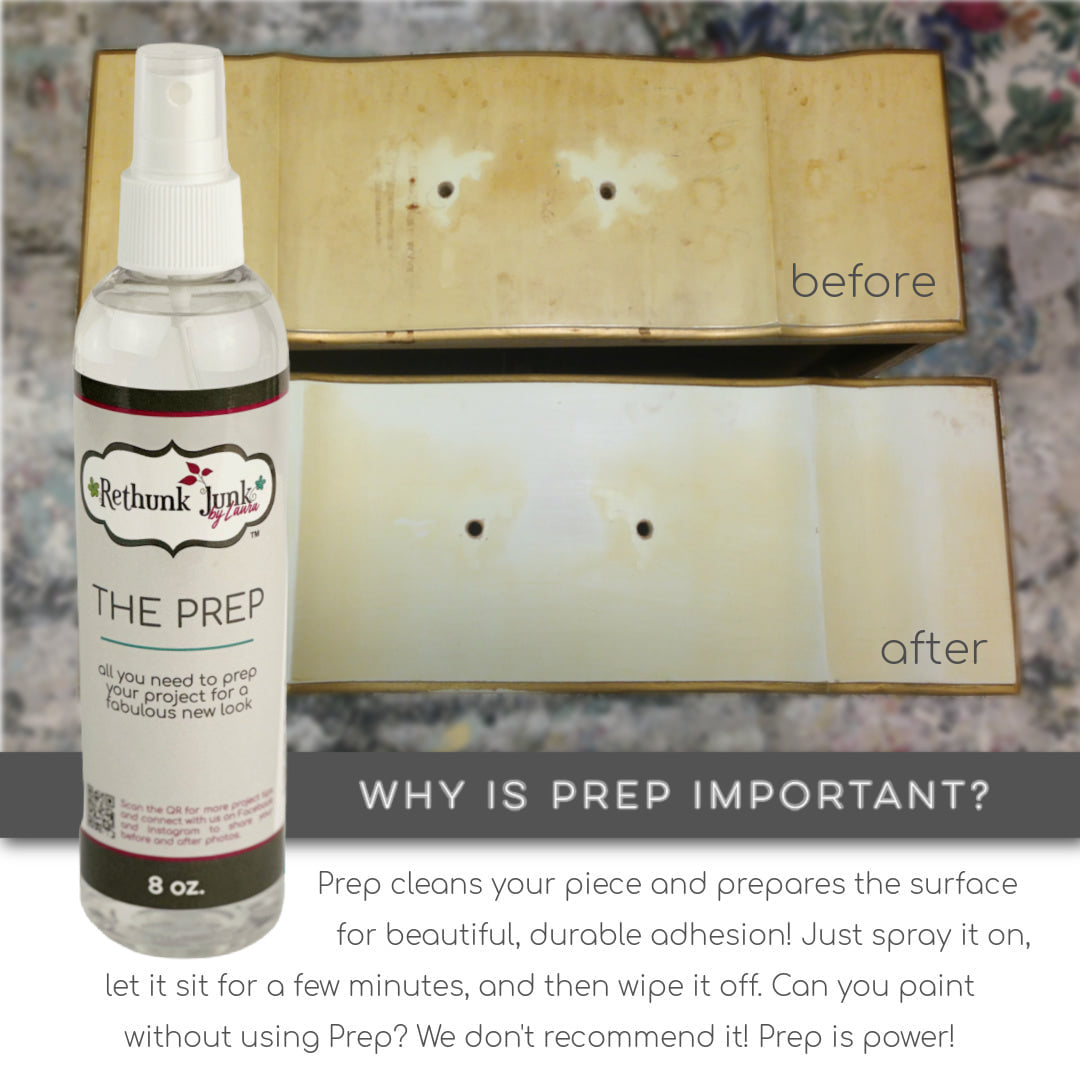
Step 1 - Prep
With Rethunk Junk by Laura products you can skip the messy sanding & priming and go straight to the PREP. Spray your surface well with Prep, then use a scrubby pad to get in there and clean thoroughly. Focus extra attention on surfaces that are touched frequently, making sure to scrub with the grain of the wood. Once you've scrubbed the surface well, spray again with Prep & wipe clean with a lint free cloth. Prep is done...time to move on to painting.
-
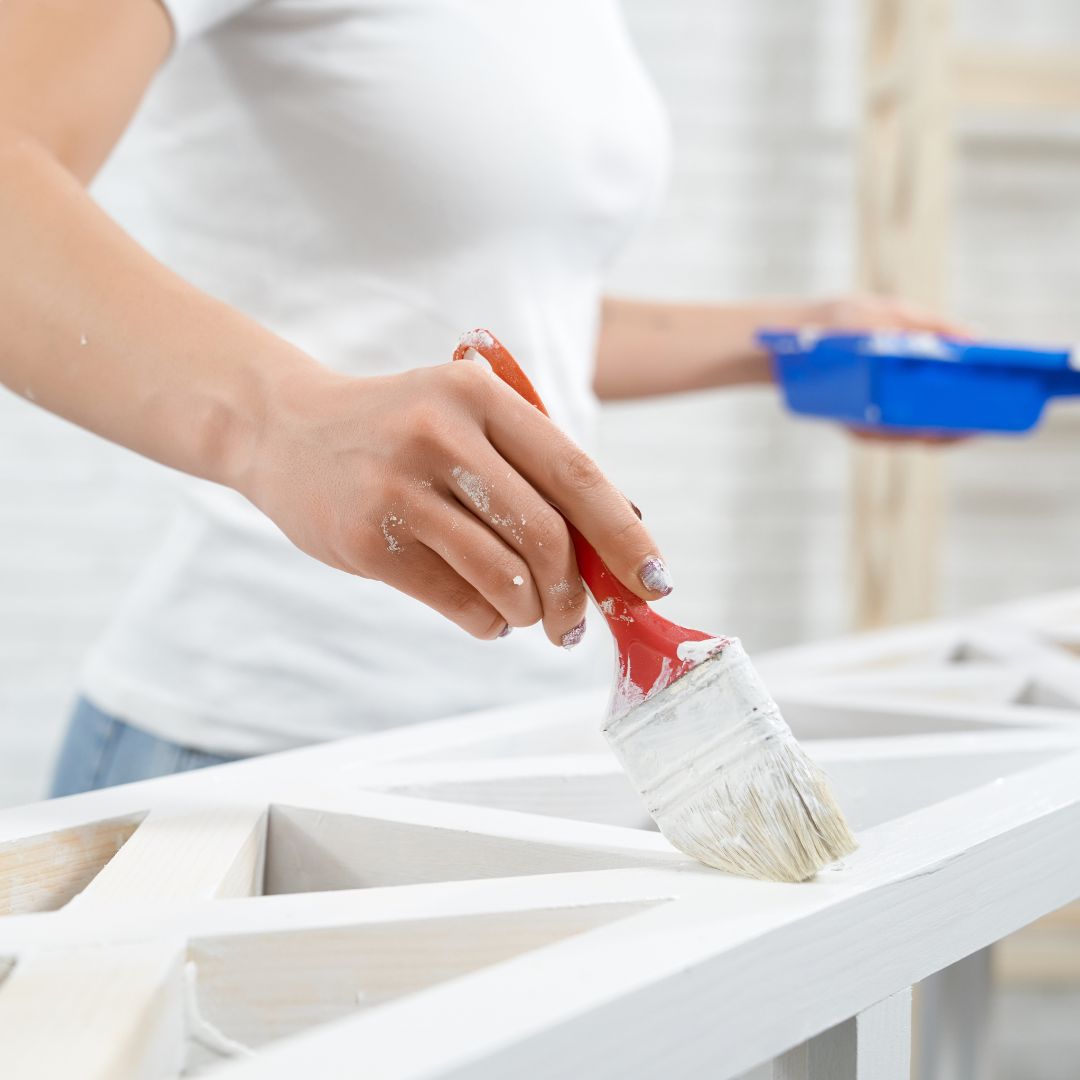
Step 2 - Paint
Choose one of the beautiful options from Rethunk Junk's 45 self-leveling, quick-drying paint colors. Their resin-infused acrylic paint formula is so easy to apply. All you need is your favorite soft-bristle brush - we love this Paint Pixie brush. Apply the first coat and allow it to dry (usually about 30 minutes). Apply additional coats to reach desired coverage. For best results, smooth your paint from edge to edge with a light touch and be careful not to over work the paint!
-
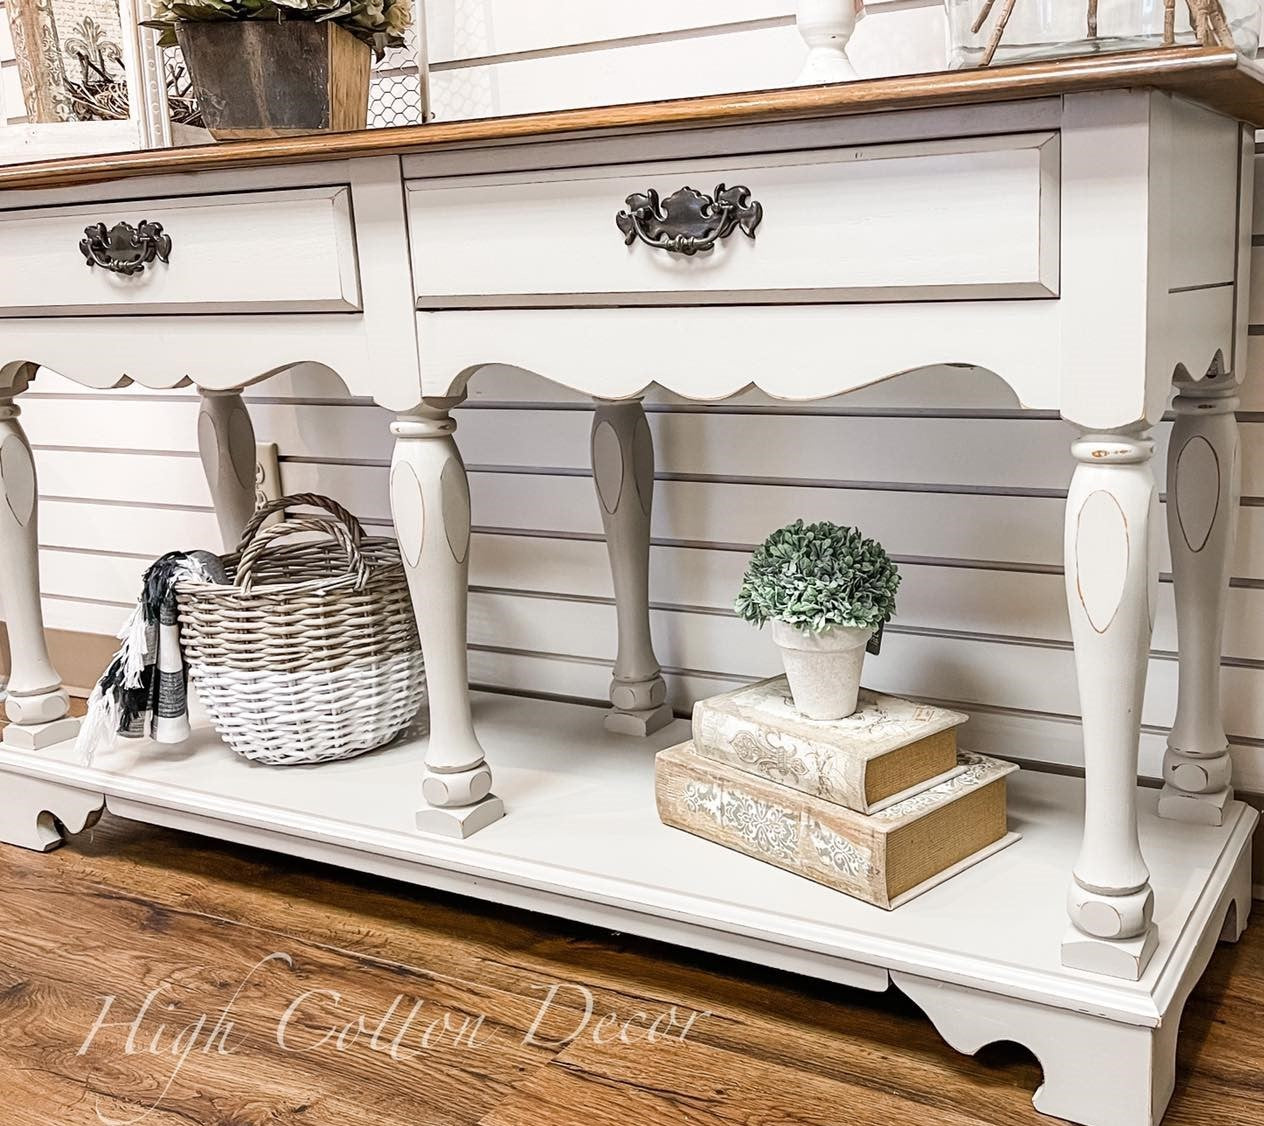
Step 3 - Personalize
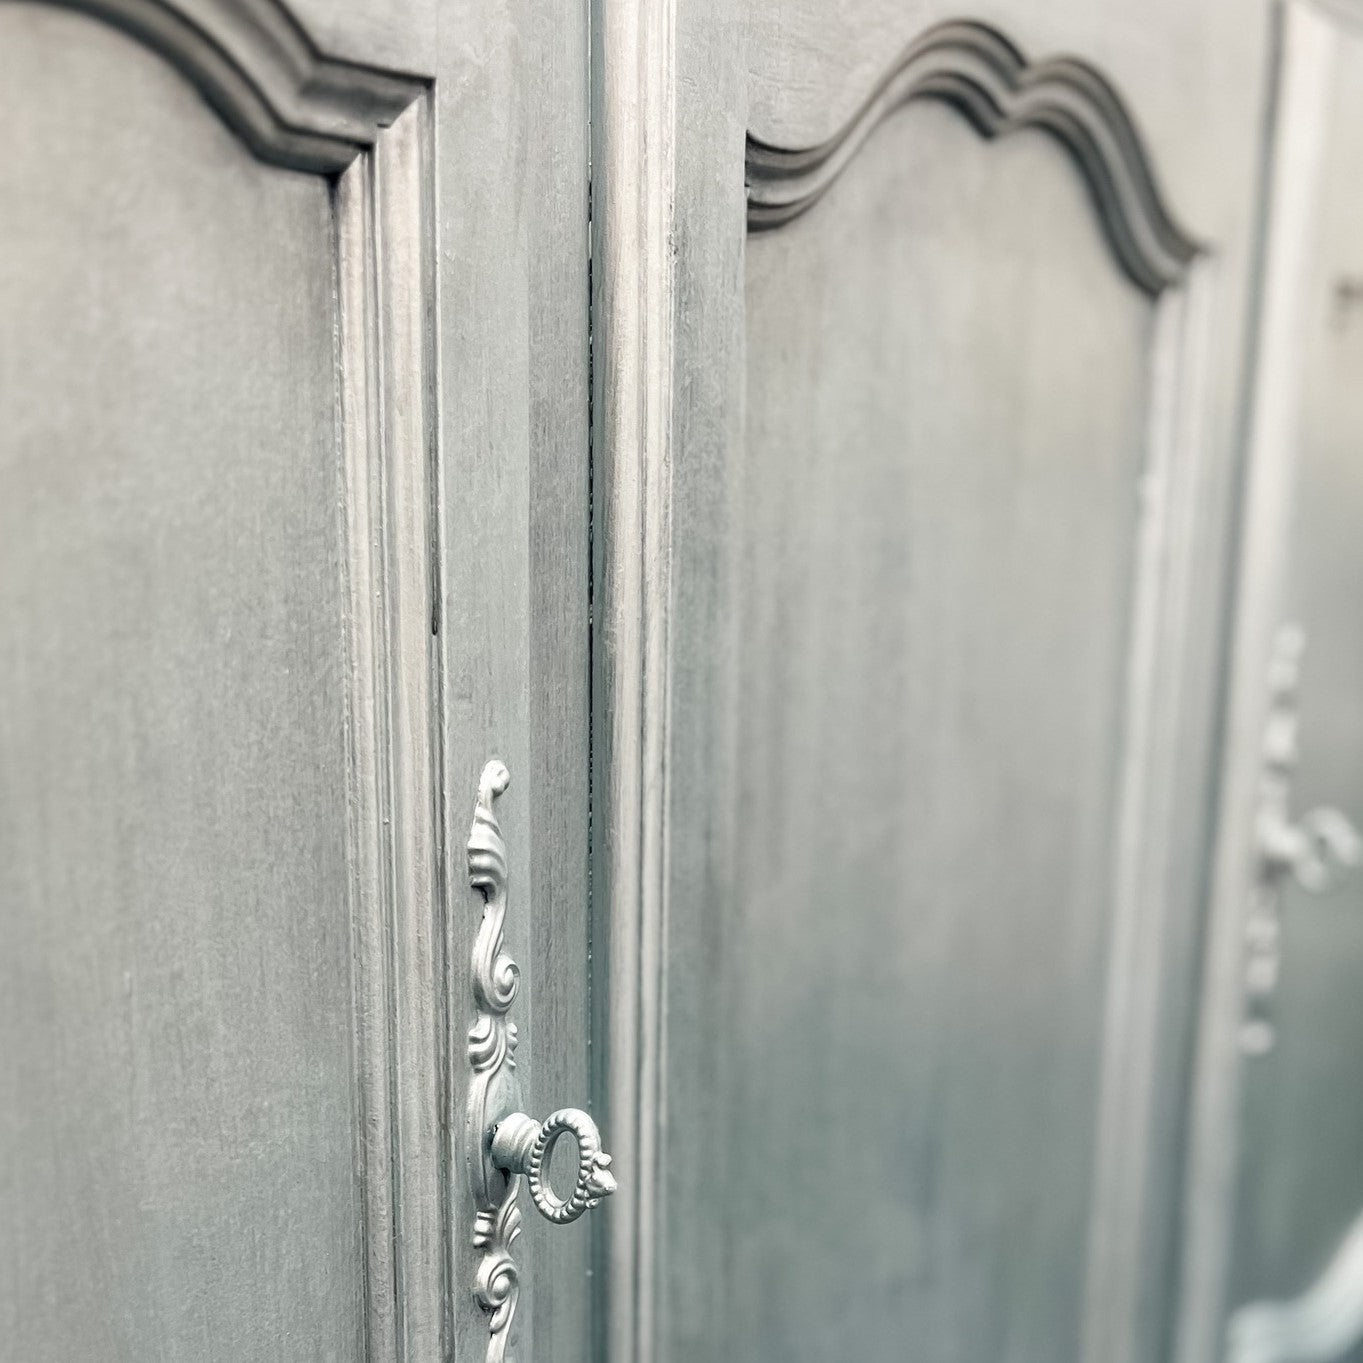
If you stand back after painting and LOVE your piece - you're done! Just allow your piece to dry well (wait at least 24 hours) and then replace and decorate as you have planned. If you want to add a bit more style or protection to your piece, now is the time! Add a glaze or metallic, some Redesign with Prima transfers, or some added protection with a Wash or Tuff Top Protectant. The only thing left to do is enjoy your refinished piece!


